DIY Tips: Using Thermal Imaging for Home Equipment Maintenance


Thermal imaging technology, once reserved for professional use, has become increasingly accessible for homeowners. By using thermal imaging cameras, you can effectively monitor and maintain your home equipment, preventing costly repairs and improving efficiency. In this post, we'll explore some DIY tips for leveraging thermal imaging in home maintenance.
Understanding Thermal Imaging
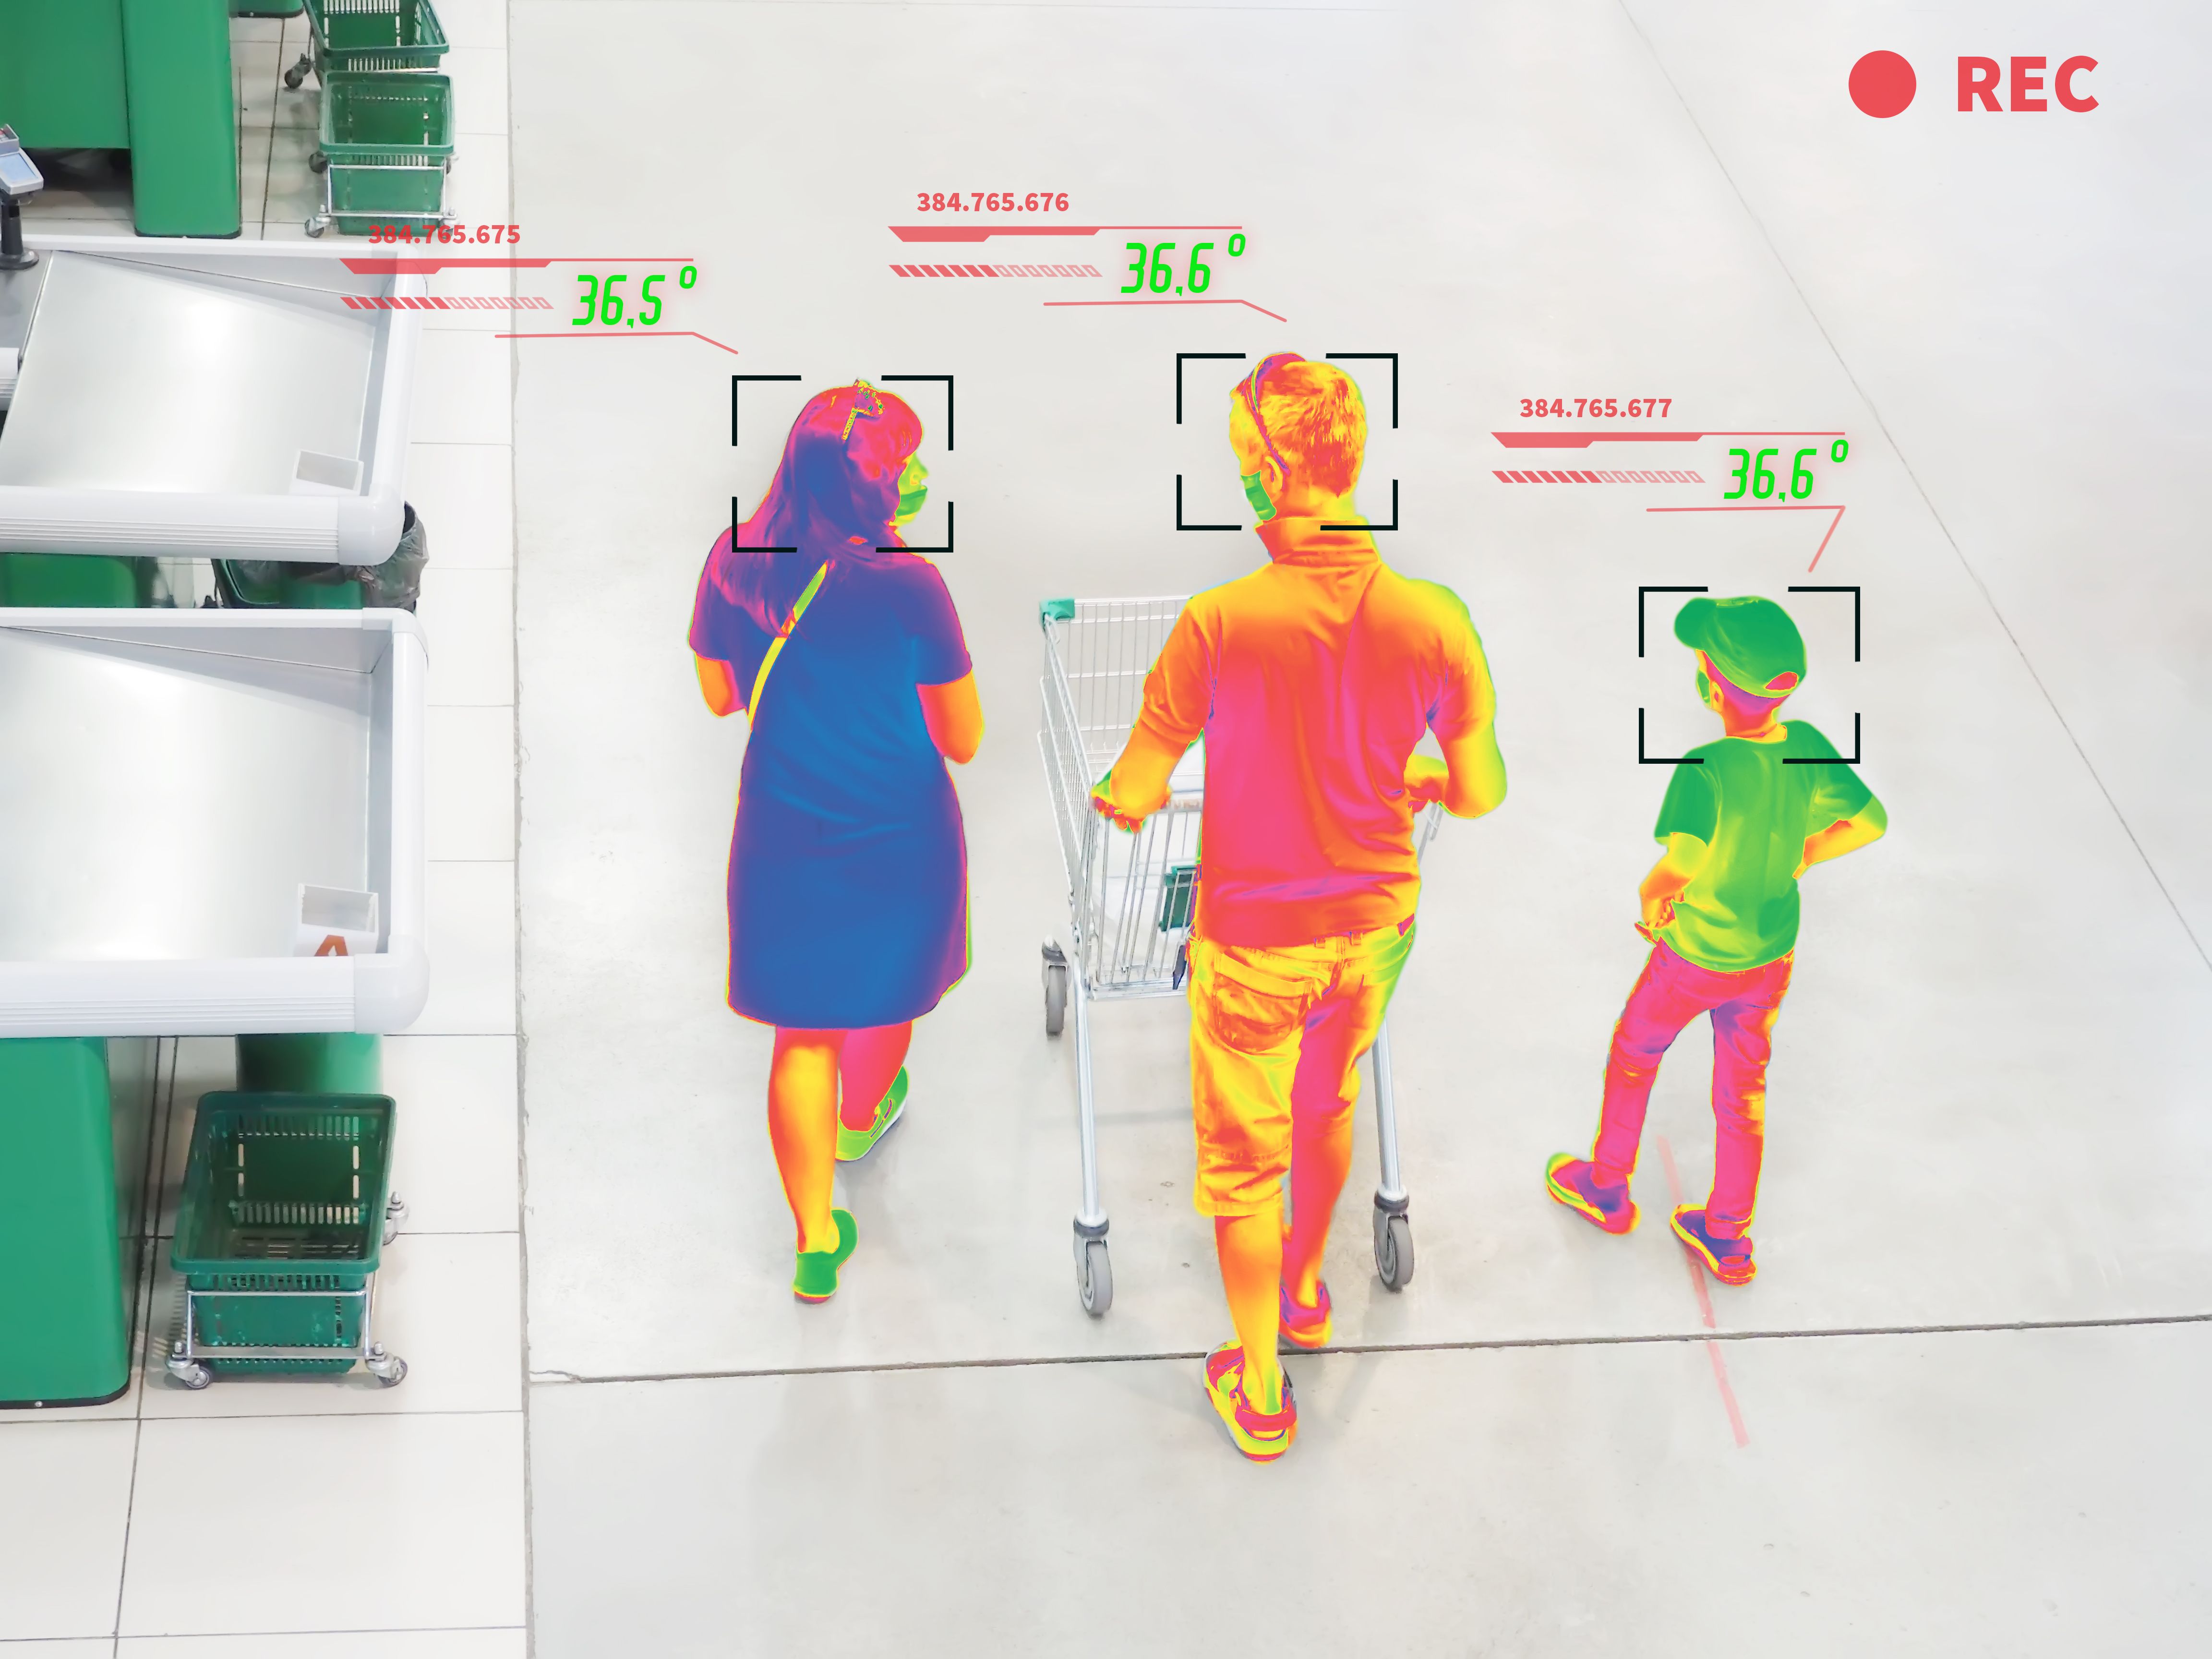
Thermal imaging works by detecting infrared radiation, which is emitted by all objects with a temperature above absolute zero. This radiation is then converted into an image, allowing you to see variations in temperature across a surface. This technology is invaluable for identifying potential issues in home equipment before they become serious problems.
Benefits of Thermal Imaging for Home Maintenance
One of the primary benefits of thermal imaging is its ability to detect problems that are invisible to the naked eye. For example, it can identify overheating electrical components, which could pose a fire risk. Additionally, thermal imaging can help locate areas of poor insulation, enabling you to take corrective action to improve energy efficiency.
Another advantage is its non-invasive nature. Unlike traditional methods, thermal imaging allows you to assess the condition of equipment without disassembling it, saving time and reducing the risk of damage.
Practical Applications in Home Equipment
Thermal imaging can be applied to various home maintenance tasks:
- Electrical Systems: Identify overheating wires, circuits, and breakers that might indicate potential hazards.
- HVAC Systems: Detect leaks or blockages in ductwork, ensuring optimal performance.
- Plumbing: Spot hidden leaks in pipes or areas of moisture that could lead to mold growth.
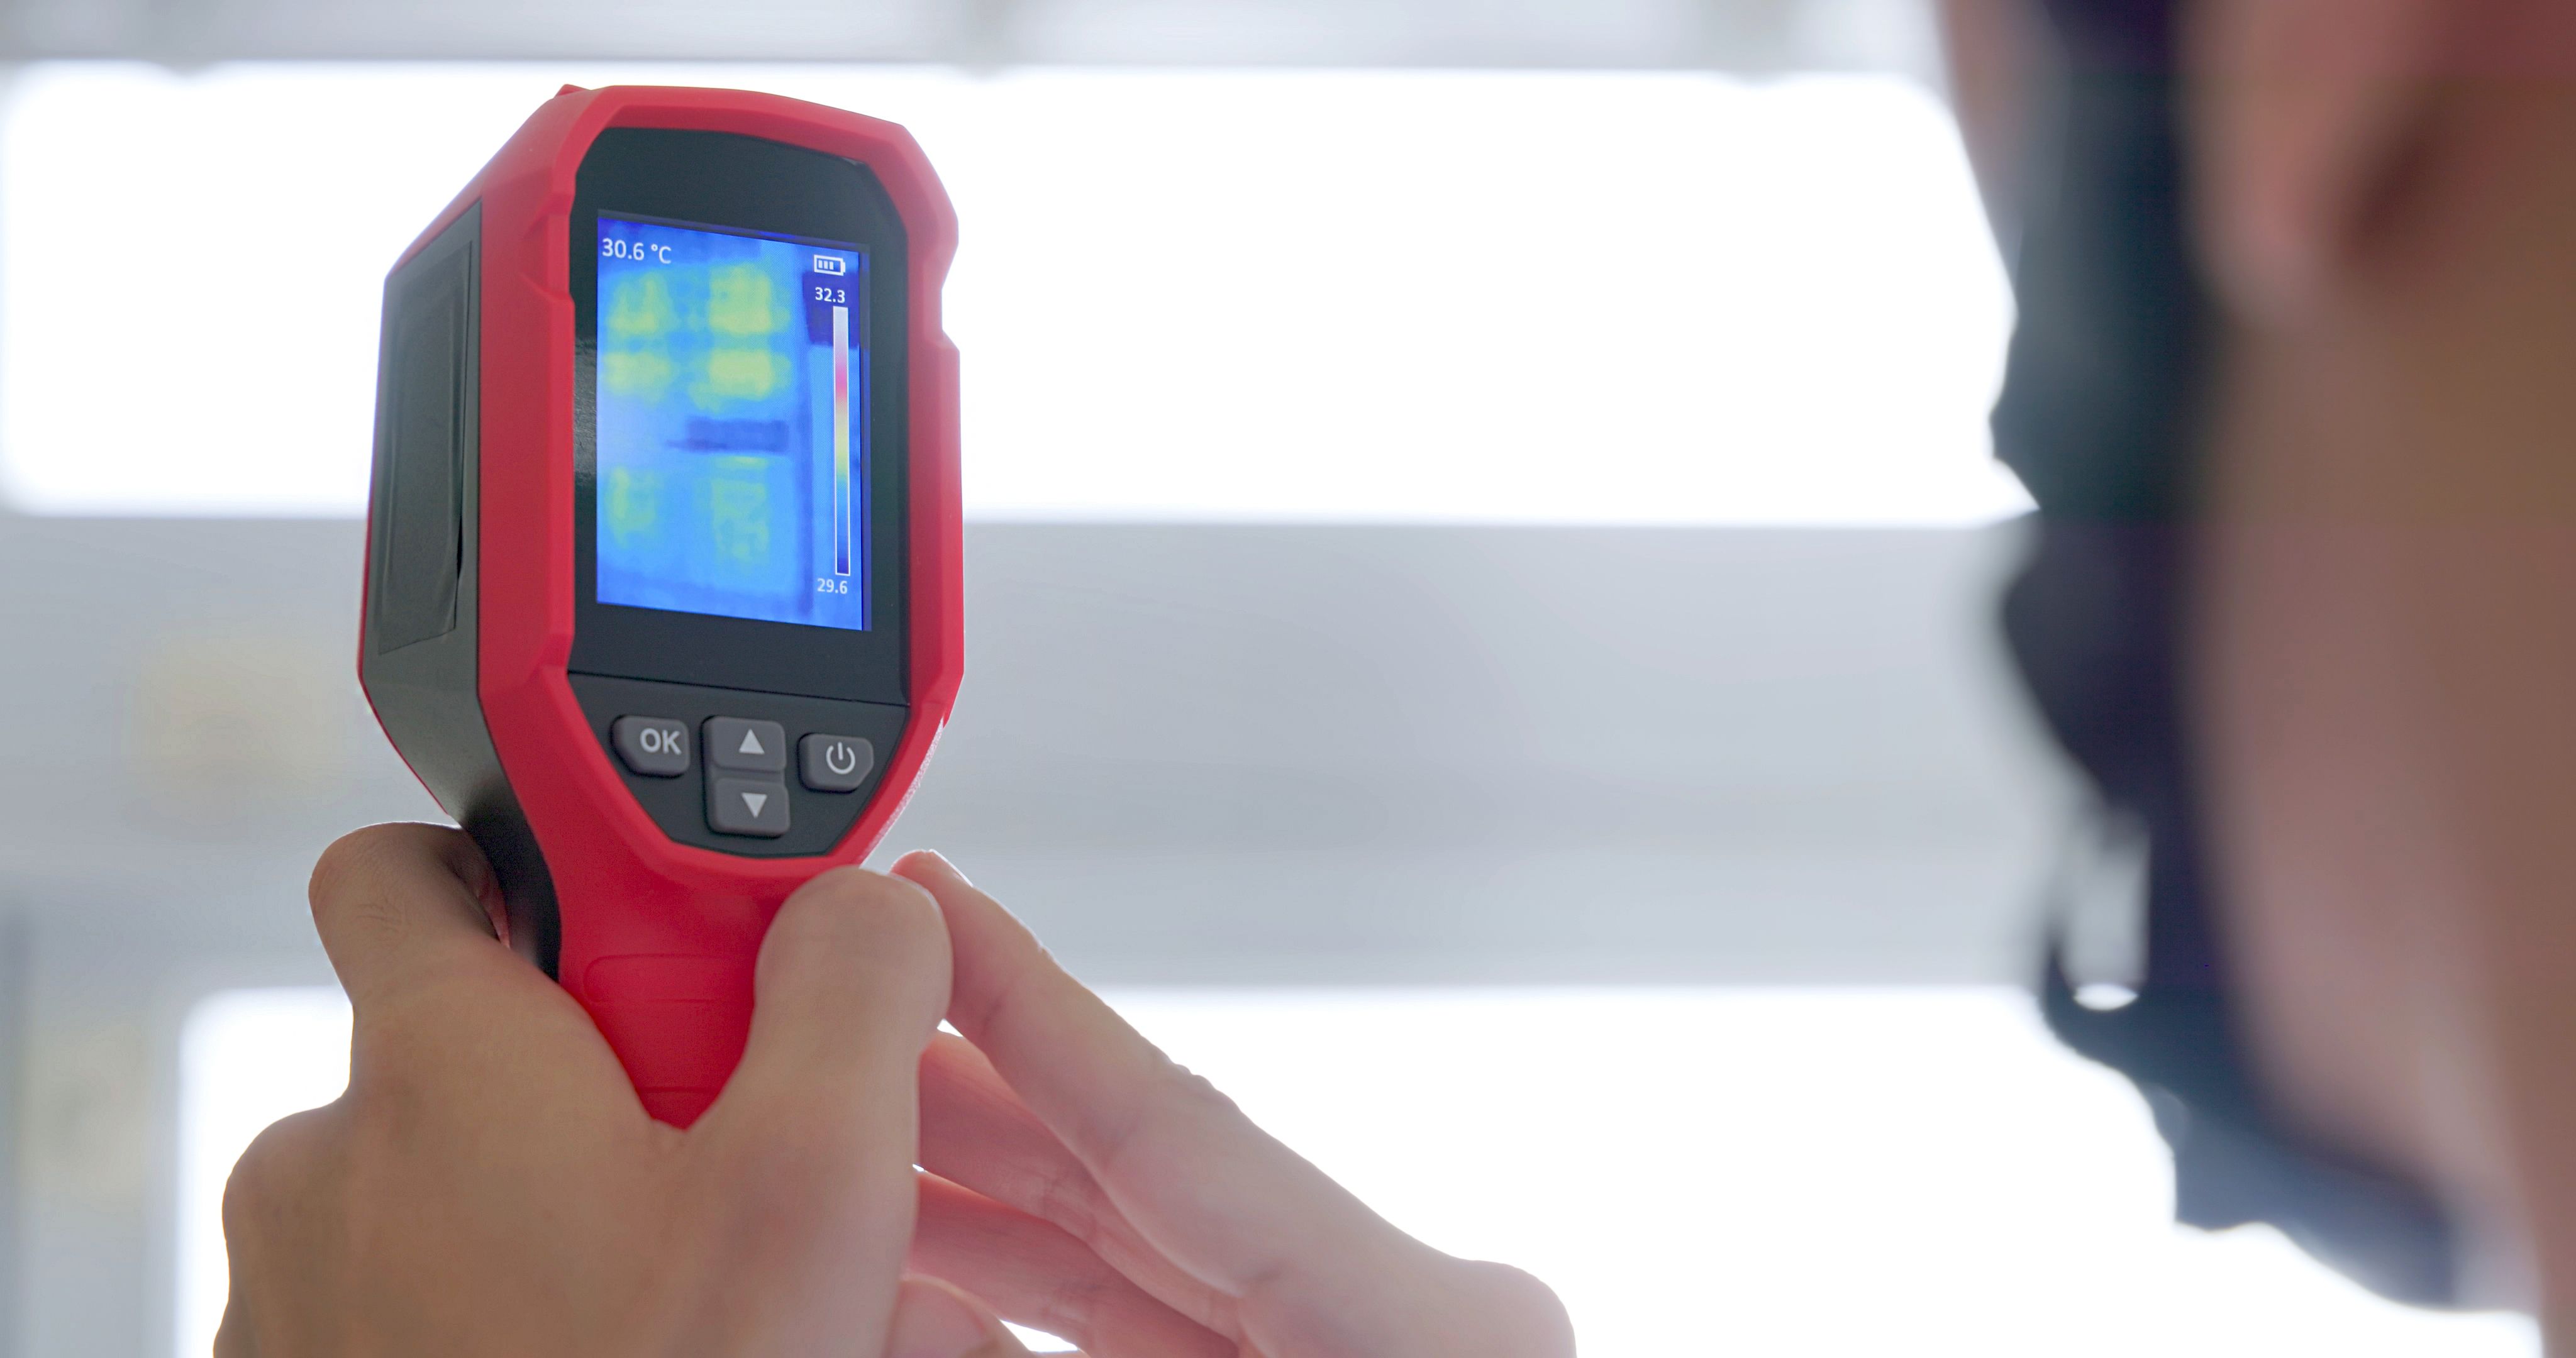
How to Use a Thermal Imaging Camera
Using a thermal imaging camera is straightforward. Begin by reading the user manual to familiarize yourself with its features. When scanning an area, move the camera slowly to capture accurate thermal patterns. Pay attention to areas with unusual temperature differences, as these can indicate potential issues.
It's important to use the camera in a stable environment. Avoid scanning in direct sunlight or extreme temperatures, as these can affect the accuracy of the readings. Always conduct a visual inspection alongside thermal imaging to confirm findings.
Choosing the Right Thermal Imaging Camera
When selecting a thermal imaging camera, consider factors such as resolution, thermal sensitivity, and ease of use. Higher resolution cameras provide more detailed images, which can be beneficial for precise diagnostics. Look for models with user-friendly interfaces and additional features like Wi-Fi connectivity for easy data sharing.
Maintenance and Calibration
To ensure your thermal imaging camera provides accurate results, regular maintenance and calibration are essential. Follow the manufacturer's instructions for cleaning and storing the device. Periodically check for software updates and calibrate the camera as recommended to maintain its performance.
By incorporating thermal imaging into your home maintenance routine, you can enhance the longevity and efficiency of your equipment. With a bit of practice, you'll be able to identify and address issues before they escalate, saving time and money in the long run.